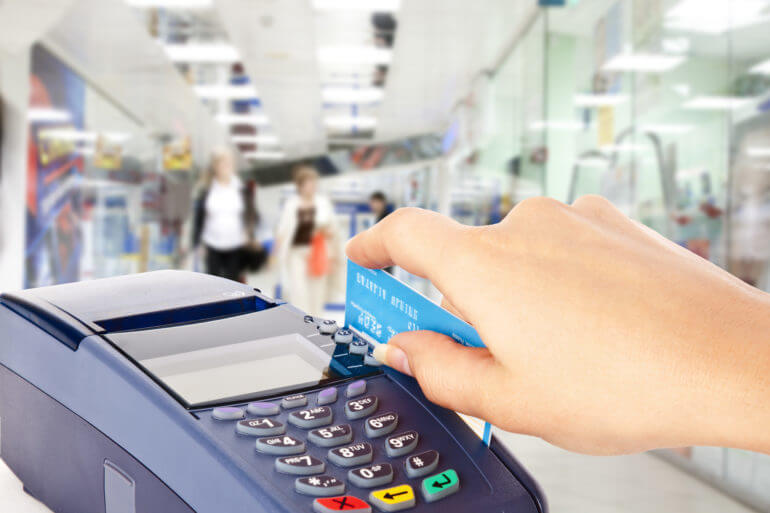
Accepting credit card payments today is a must for businesses of all sizes. With more consumers relying on cards instead of cash, having a card reader boosts sales and enhances the overall shopping experience. As a merchant, you must know how to set up a credit card machine. This will largely simplify transactions and help your business meet customer expectations for quick and convenient payment options.
Step 1 – Unboxing and Checking Your Equipment
How to set up a credit card reader? The first step is unboxing the machine and verifying that all necessary components are included. Missing items may cause a delay in collecting non-cash payments, and detecting issues early helps you resolve them with your credit card processing company or supplier. Typically, a standard package will contain the following items:
- Credit card machine – This is also called a payment terminal. It’s the main device for processing card payments.
- Power cable and adapter – Obviously, these are used to connect the machine to a power source.
- Communication cables – These can be Ethernet, phone line, or USB. Depending on your connection type, these cables will link the device to the network.
- Receipt paper rolls – If the machine has a built-in printer, some rolls of receipt paper may be included.
- Instruction manual – A quick start guide should provide basic setup instructions and troubleshooting tips.
Step 2 – Connecting the Machine to Power and Network
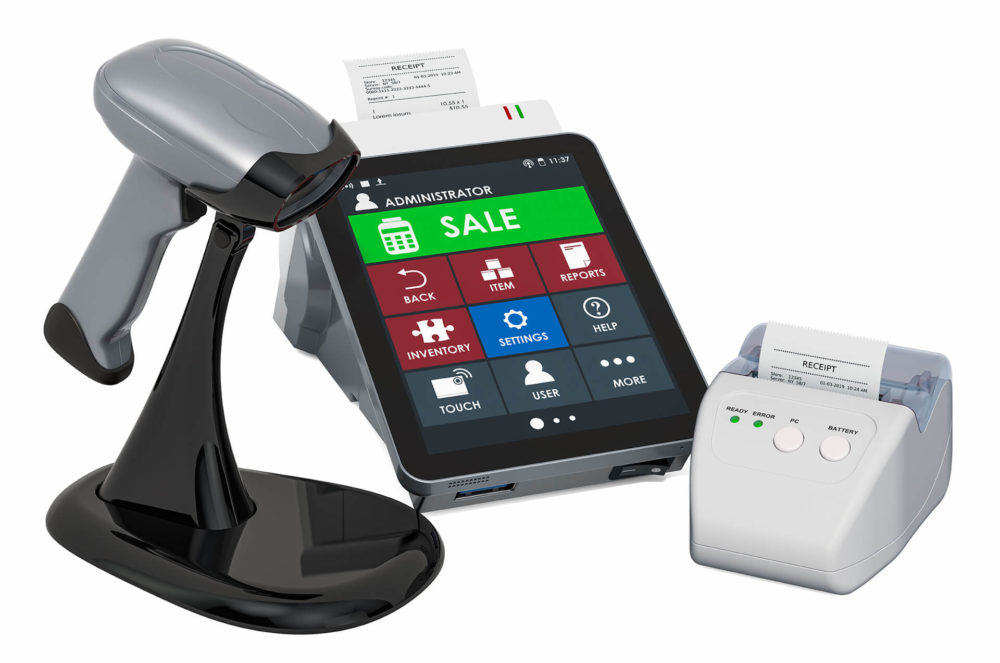
If you want the payment terminal to be operational, start by connecting it to a power source and establishing a network connection. This begins by plugging the power cable into the terminal and connecting it to an electrical outlet. Once plugged in, press the power button, which is usually located on the side or back of the device. It may take a few moments for the terminal to boot up and be ready for setup.
Setting Up the Network Connection – WiFi or Ethernet?
Now, let’s see how to connect a credit card machine to the internet. There can be several connectivity options available depending on your business setup. For a Wi-Fi connection, go to the network settings menu on the terminal’s screen, select your Wi-Fi network from the list, and enter the password if prompted. Once connected, the terminal should display a strong signal indicator.
If you choose an Ethernet connection, plug the Ethernet cable into the appropriate port on the terminal, and connect the other end to your router or network switch. The device should automatically detect the connection and show a connected status on the screen.
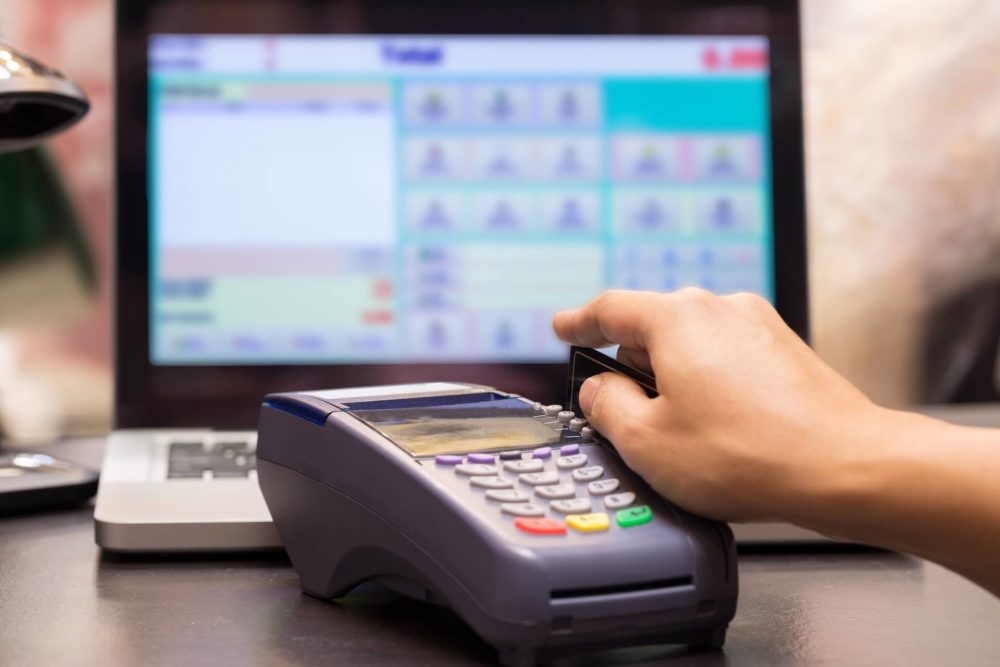
Step 3 – Here Are Instructions on How to Set Up a Credit Card Machine
Once you’ve hooked up your payment terminal to power and the internet, you’ll need to set it up with information about your business and connect it to your merchant account. This setup makes sure that sales are correctly linked to your company and go through without any problems.
Begin by entering your merchant details into the terminal. This information typically includes your store name and business address. It’s also essential to include the merchant identification number provided by the merchant services and credit card processing company. These details are essential because they appear on customer receipts and help identify your business in transaction records. The terminal’s interface will guide you through entering this information, usually as part of an initial setup wizard. It shouldn’t be too complicated.
Linking the Payment Terminal to a Merchant Account
Next, you’ll need to link the payment terminal to your merchant account. This process involves registering the machine with the payment processor by entering the account details or an activation code. In some cases, the payment processor may provide specific instructions or require you to complete the setup through an online portal.
Ensure the machine is connected to the internet during this step, as it will communicate with the processor to verify the details and complete the registration. Once these configurations are set, the payment terminal will be ready to accept card payments, with transactions correctly linked to your business account.
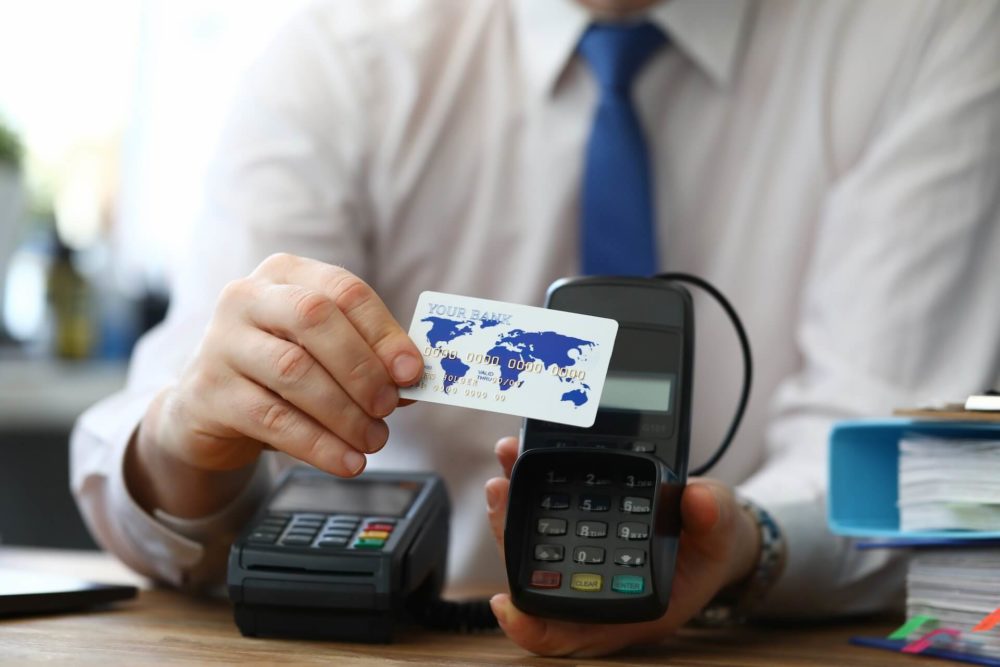
Step 4 – Performing a Test Transaction
It’s important to make a test payment after setting up the terminal to make sure everything is working correctly. This step is important for determining that the machine is correctly handling transactions and communicating properly with the processor.
To run some test transactions, start by making a sale on the terminal. You can simply type in a small amount – this will let you check the process without having a big impact on your financial records. To pay, use a credit or debit card and follow the terminal’s instructions on how to swipe, enter, or tap the card. After the transaction is completed, make sure that you get a receipt and that the transaction shows up properly on the terminal’s screen.
Troubleshooting Common Issues During the Test Transaction
If the test transaction is unsuccessful, keep in mind that addressing problems during the test phase will help you make sure your payment terminal is ready for real transactions. Here’s what you can do to resolve the common issues that may be causing the problem:
- Ensure that the payment terminal is properly connected to the network, as connectivity problems can prevent the transaction from being processed.
- Double-check the account setup information, as incorrect merchant details or incomplete registration can cause errors.
- Verify that the card used for the test is valid and not expired, as an invalid card may lead to a failed transaction.

Step 5 – Setting Up Security Features
Data security is essential for protecting customer information and ensuring PCI compliance. Enable security features such as encryption, password protection, and fraud detection alerts so you can protect all transactions and reduce the risk of breaches. These measures help keep sensitive payment data secure and maintain trust with your customers, making sure you provide a good customer service experience.
Step 6 – Training Staff on Using the Credit Card Machine
Educate your employees on how to operate the payment terminal and handle common customer questions. Provide a brief training session and consider creating a quick reference guide for easy access to key instructions. It’s important for all staff to confidently assist customers and process payments smoothly.
What to Do When There’s No Connection?
Now that you know how to use a credit card machine step by step, let’s take a look at issues that can occur from time to time. The most common one is – the credit card machine not connecting to the internet. There are several steps you can take to troubleshoot the issue:
- Check the network connection settings – For Wi-Fi connections, verify that the correct network is selected and the password is entered accurately. For Ethernet connections, make sure the cable is securely plugged into both the terminal and the router.
- Restart the device and network equipment – Power off the payment terminal, as well as your router or modem. Wait for about 30 seconds, then turn the router or modem back on, followed by the terminal. This can help reset the connection and resolve temporary glitches.
- Test the internet connection – Confirm that the internet connection is working properly on other devices, such as a smartphone or computer. If there are connection issues with other devices as well, the problem may lie with your internet service provider.
- Check for physical interference or distance issues – If using Wi-Fi, ensure the payment terminal is within range of the router and that there are no significant obstructions, such as thick walls, that could block the signal. For wired connections, inspect the Ethernet cable for any visible damage.
- Verify network settings and firewall rules – Some network configurations, such as firewalls or proxy settings, may restrict the terminal’s access to the internet. Consult your network administrator to ensure that the device is permitted to connect.
- Update the terminal’s firmware – Outdated firmware may cause connectivity issues. Check if there are any updates available for the payment terminal and follow the instructions from the manufacturer to install them.
- Contact technical support – If the issue persists, reach out to your payment processor’s technical support team for further assistance. They may guide you through additional troubleshooting steps or determine if a replacement device is necessary.
Invest in Reliable Credit Card Processing Services
Knowing how to use a credit card machine for your business is not enough to ensure smooth transactions and happy customers. You would benefit from booking reliable merchant services, which means you need to find a quality merchant processing company. Our team at Merchant Chimp has all the qualities you want in your merchant service provider.
For personalized support or to explore additional payment solutions, contact Merchant Chimp. Our team is here to help you get the most out of your payment processing system and provide tailored solutions to fit your business needs.

